

There’s something special about gathering around a solid wooden table outdoors. Whether it’s for morning coffee on the patio or dinner in the garden, a well-built table transforms your space and lasts for years — if it’s made right.
This guide walks you through how to build a wooden table for outside step by step. You’ll learn the best materials, precise cutting and assembly methods, and weatherproofing techniques to keep your project durable and beautiful through every season.

Project Overview: Building an Outdoor-Ready Wooden Table
This project is designed for beginner to intermediate woodworkers. You’ll make a sturdy table that works equally well on a patio, deck, or garden area. Expect one weekend of light work — around 4–6 hours of build time plus drying and curing time for finishes.
Planning and Dimensions
Determining Table Type and Size
Start by deciding how you’ll use your table.
- Dining Table: Standard height is 30 inches. Allow 24 inches per person for seating space.
- Coffee Table: Height between 16–18 inches fits most outdoor lounge setups.
- Small Patio or Bistro Table: 24–30 inches in diameter or width — great for tight spaces.
Tip: Lay out chairs or benches first to confirm spacing before cutting any wood.
Safety Essentials Before You Begin
Before you make a single cut:
- Wear PPE: Safety glasses, hearing protection, and a dust mask.
- Keep cords organized and work in a ventilated area.
- Always clamp wood securely before cutting or drilling.
Budgeting and Material Planning
A simple outdoor table costs $60–$120 if you use affordable wood and basic hardware.
Premium hardwood versions can exceed $250 — but they’ll last decades.
Materials and Tools You’ll Need
Materials List
| Component | Recommended Material | Size / Quantity | Notes |
|---|---|---|---|
| Tabletop Slats | Cedar or Pressure-Treated Pine | 1×6 boards (6 pcs @ 48”) | Smooth, rot-resistant wood |
| Table Legs | 2×4 lumber | 4 pcs @ 29” | Cut to table height |
| Aprons (Skirt) | 2×4 lumber | 2 pcs @ 42” + 2 pcs @ 24” | Forms support frame |
| Cross Braces | 2×2 lumber | 2 pcs @ 24” | Adds strength |
| Screws | Exterior Deck Screws | 2.5” length | Rust-resistant |
| Wood Glue | Exterior-Grade | — | Waterproof bond |
| Finish | Spar Urethane / Outdoor Stain | — | For UV and moisture protection |
| Mounting Hardware | Pocket Hole Screws / Brackets | — | Optional for extra stability |
Bonus: Download this cut list as a printable sheet to keep beside your workspace for quick reference.
Tools Required
- Power Tools: Miter saw or circular saw, power drill, orbital sander
- Hand Tools: Measuring tape, speed square, clamps, screwdriver
- Finishing Tools: Paintbrushes, clean cloths, tack cloth
Choosing the Right Wood for Outdoor Durability
Best Wood Types for Outdoor Tables
- Cedar: Naturally resists rot and insects, lightweight, and easy to cut.
- Pressure-Treated Pine: Most affordable and widely available. Excellent when sealed properly.
- Redwood or Teak: Premium options with built-in weather resistance and long life.
- Reclaimed Wood: Great for rustic looks — but check for prior finishes or embedded nails.
Checking Lumber Quality
- Inspect boards for straightness — no twisting or warping.
- Avoid wood with large knots where screws will go.
- If using pressure-treated wood, let it dry fully before staining or sealing.
Step-by-Step: Building the Table Frame
Step 1: Cut All Pieces to Size
Measure twice, cut once.
Ensure all four legs are equal in length. When cutting aprons, subtract the board thickness of your legs from the total width for a perfect fit.
Step 2: Assemble the Leg Frames
- Position two legs parallel to each other.
- Attach one short apron between them using 2.5” deck screws and exterior wood glue.
- Repeat for the opposite side.
- Use a square to confirm perfect right angles before tightening screws.
Tip: Pocket hole joinery gives a clean look and added strength.
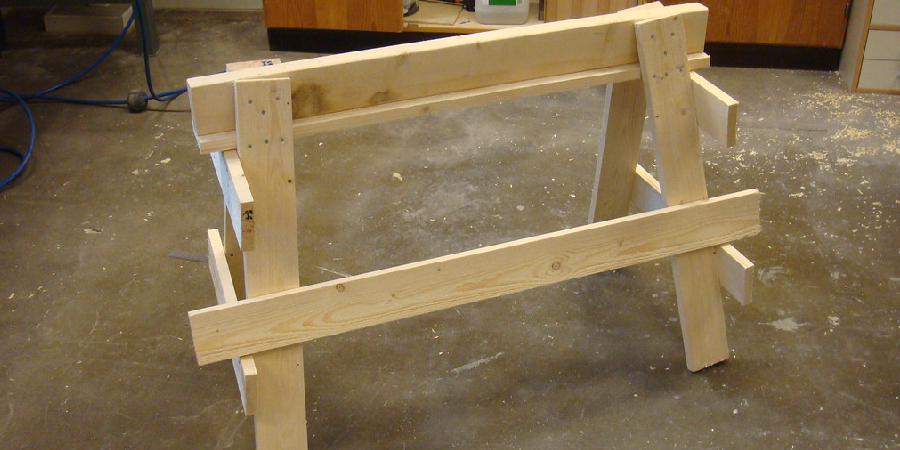
Step 3: Connect the Long Aprons
- Stand both leg assemblies upright.
- Connect them with the two long apron boards.
- Clamp everything square and screw in place.
You now have a complete rectangular frame — the base of your table.
Step 4: Add Cross Braces
Cross braces prevent wobble. Cut two 2×2 braces at 45° angles on each end and install diagonally between aprons.
Building the Tabletop
Step 1: Prepare the Tabletop Boards
Lay six 1×6 cedar boards side by side.
Leave ⅛-inch gaps between boards for water drainage and natural expansion.
Step 2: Attach the Tabletop
- Center the tabletop over the frame.
- Use 2.5” deck screws driven from underneath through the aprons.
- For a sleeker look, use Z-clips or tabletop fasteners to allow for wood movement.
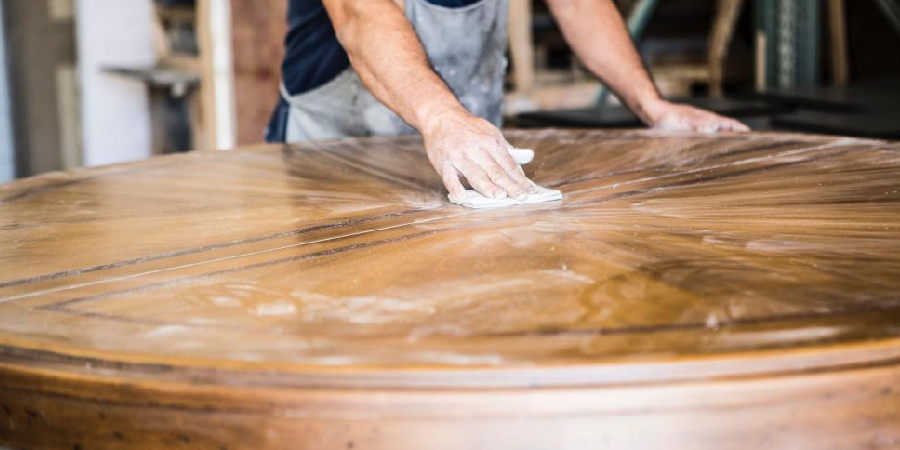
Step 3: Sand and Smooth All Surfaces
Progress through sandpaper grits: 80 → 120 → 180 → 220.
Wipe down with a tack cloth before finishing. Smooth edges for safety and comfort.
Weatherproofing: Protecting Your Table for Outdoor Life
Pre-Finishing Prep
- Wipe off dust completely.
- Apply a wood conditioner if using stain — it ensures even color.
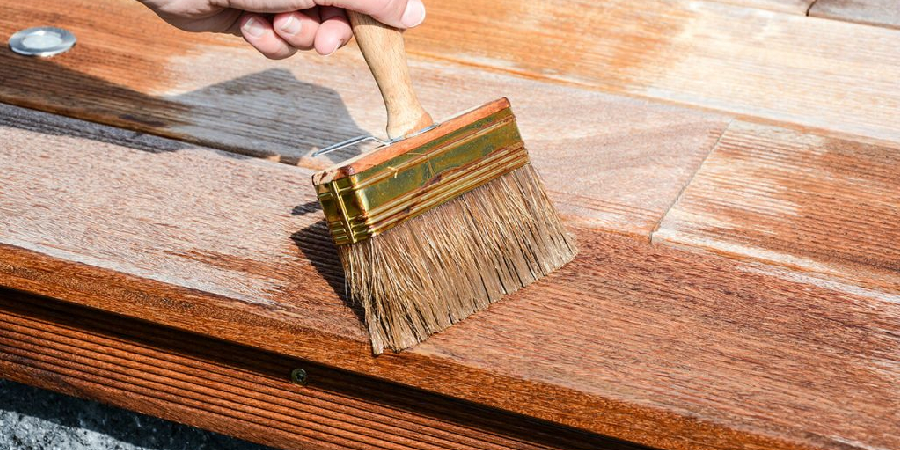
Staining and Sealing
- Apply Exterior Stain: Brush on thin, even coats. Wipe excess after 10 minutes.
- Seal with Spar Urethane: Two to three coats, lightly sanding between each with 220-grit paper.
Spar urethane contains UV blockers and flexible resins — ideal for outdoor furniture.
Alternative Finishes
- Oil-Based Polyurethane: Durable and glossy, great for moisture-heavy climates.
- Water-Based Polyurethane: Fast drying, lower odor, slightly less UV protection.
- Outdoor Oil Finish (Teak or Linseed): Natural look, easy to refresh annually.
Curing and First Use
Allow the finish to cure for at least 72 hours before placing the table outdoors.
Avoid setting heavy items on top during this time.
Design Variations and Custom Additions
Small Outdoor or Bistro Table
- Reduce tabletop to 30” × 30” and shorten legs for compact design.
- Perfect for balconies or two-person patios.
Patio Table with Umbrella Hole
- Drill a 2-inch centered hole in the tabletop before sealing.
- Use a rubber grommet to prevent moisture seeping through.
Garden Table with Storage Shelf
- Add a lower shelf between leg frames using leftover wood.
- Great for holding gardening tools or plant pots.
Troubleshooting Common DIY Issues
| Problem | Cause | Solution |
|---|---|---|
| Table rocks or wobbles | Uneven legs or soft ground | Plane or sand legs level; use pads or shims |
| Wood splitting | No pilot holes drilled | Always pre-drill, especially near edges |
| Finish peeling | Applied in humidity or poor prep | Sand, clean, and reapply under dry conditions |
| Warped boards | Moisture imbalance | Seal all sides equally; store flat before use |
Long-Term Care and Maintenance
Annual Cleaning and Re-Sealing
Once a year:
- Wash with mild soap and water.
- Lightly sand the surface.
- Apply a fresh coat of outdoor polyurethane or oil.
Seasonal Storage Tips
- Keep covered when not in use, especially during rainy months.
- For cold climates, store indoors or under a waterproof patio cover.
Your Outdoor Table, Built to Last
You’ve just learned how to build a wooden table for outside — from material selection and cutting to finishing and weatherproofing.
A well-sealed cedar or pine table can last 10+ years outdoors with minimal care. Beyond durability, you’ve created something personal — a piece that turns any patio or garden corner into a gathering space built by your own hands.
Now it’s time to choose your finish, download the cut list, and start building. For more full wooden table plans and designs, visit our complete guide.