
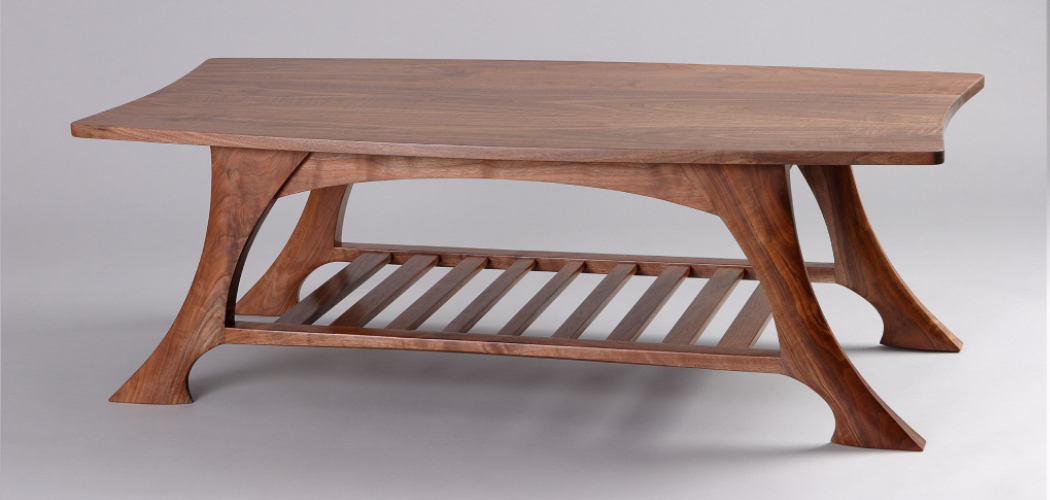
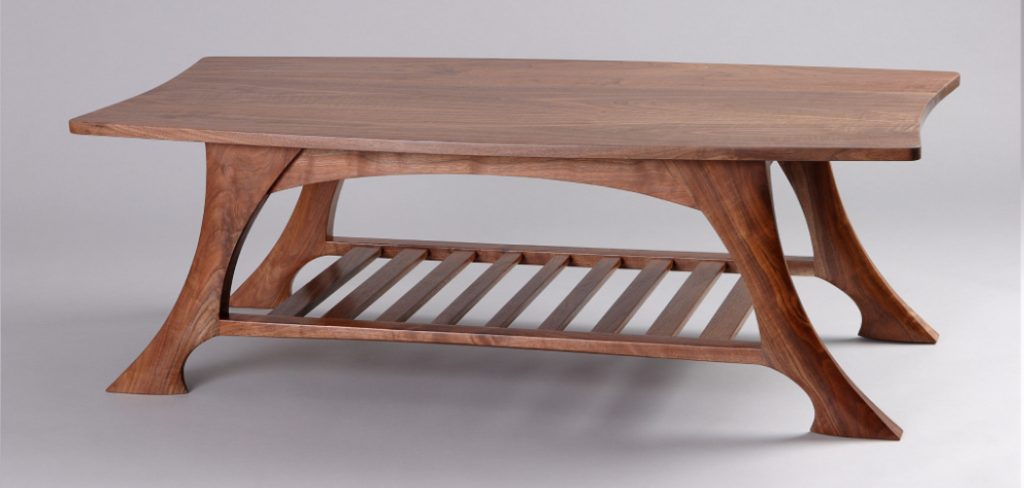
A small wooden table is one of the most versatile DIY woodworking projects. Compact, functional, and beginner-friendly, it’s perfect as a coffee table, bedside table, or small patio table.
This guide walks you through a simple build that uses minimal tools, budget-friendly wood, and step-by-step instructions to create a sturdy and stylish small table. You’ll also find easy design variations to suit your space.
Why Build a Small Table?
Small tables are ideal for beginners because they are:
- Manageable: Less cutting, assembly, and finishing time.
- Functional: Can serve as a coffee table, side table, or nightstand.
- Customizable: Easy to modify for different heights, widths, or finishes.
Whether you’re furnishing a small apartment, a cozy patio, or a bedroom, a compact table is a perfect first project.
Tools and Materials You’ll Need
You don’t need a full workshop — just basic tools and accessible materials.
Materials List
| Component | Material | Dimensions | Quantity | Notes |
|---|---|---|---|---|
| Tabletop | Pine, Cedar, or Plywood | 18”×18”–24”×24” | 1 | Smooth, flat board or panel |
| Legs | 2×2 Lumber | 16”–20” | 4 | Adjust height for table type |
| Aprons (Side Rails) | 1×3 Lumber | 16”–20” | 4 | Provides frame support |
| Screws | 1¼”–1½” Wood Screws | — | 16–20 | Pre-drill holes to avoid splitting |
| Wood Glue | Interior-grade | — | — | Optional but adds strength |
| Finish | Paint, Stain, or Clear Coat | — | — | Optional for protection and style |
| Sandpaper | 80, 120, 220 grit | — | — | For smooth finishing |
© woodhint.com
Click here to download this cut list as a printable sheet for your workshop.
Tool List
- Tape Measure
- Hand Saw or Circular Saw
- Power Drill & Bits
- Clamps
- Square / Speed Square
- Orbital Sander or Sanding Block
- Paintbrush or Cloth for Finish
Tip:
Keep a level handy to ensure the table stands evenly on all legs.
Step 1: Plan and Measure Your Table
Start by deciding the finished size based on its purpose:
| Table Type | Recommended Dimensions |
|---|---|
| Coffee Table | 16–18” high × 18–24” square |
| Side Table | 20–22” high × 16–18” square |
| Bedside Table | 22–24” high × 18” square |
© woodhint.com
Adjust apron lengths to fit the tabletop size:
- Long aprons: tabletop length minus ~3”
- Short aprons: tabletop width minus ~3”
Label each piece after measuring — this keeps your build organized.
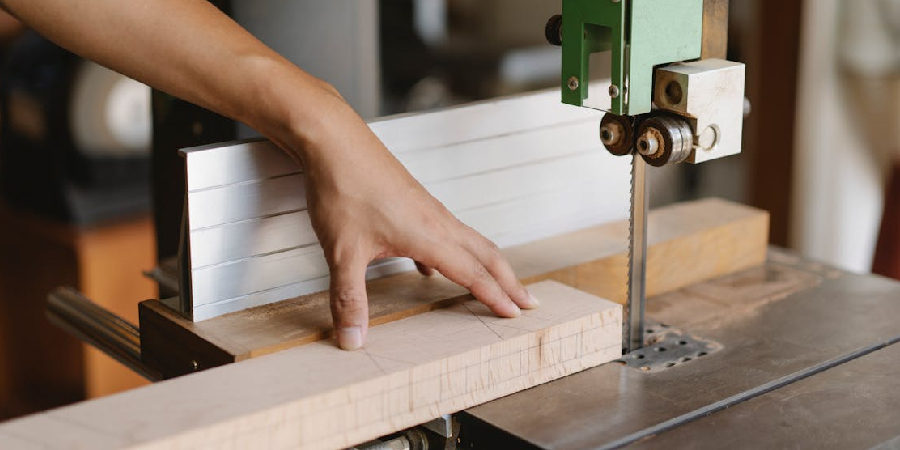
Step 2: Cut the Wood
- Cut four legs to desired height.
- Cut four aprons to calculated lengths.
- Cut tabletop to desired size (if not pre-cut).
Pro Tip:
Clamp a stop block when cutting legs to make all pieces exactly the same length — prevents wobbly tables.
Lightly sand all edges before assembly to remove splinters.
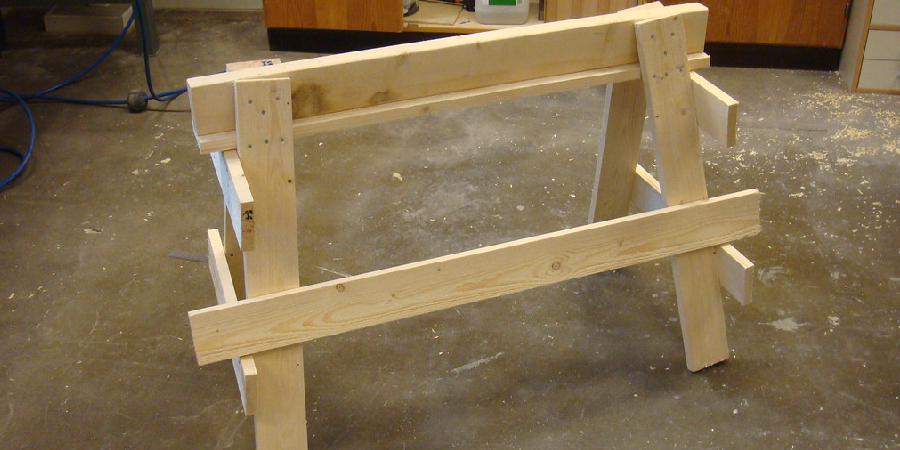
Step 3: Assemble the Frame
- Lay two legs flat with a short apron between them near the top.
- Apply a bead of wood glue at contact points.
- Drill pilot holes and drive in screws.
- Repeat for the second end frame.
- Connect both end assemblies with the long aprons to form a rectangle.
Check corners with a square — the frame should sit flat and true.
Optional Reinforcements:
- Corner braces for added strength.
- Center stretcher if the tabletop is large.
Step 4: Attach the Tabletop
- Place tabletop upside down on a flat surface.
- Center the frame on top, leaving a small inset (~1”).
- Drill pilot holes through aprons into tabletop edges.
- Drive screws slowly — avoid over-tightening.
For solid wood, allow 1/8” space between tabletop and frame for wood expansion.
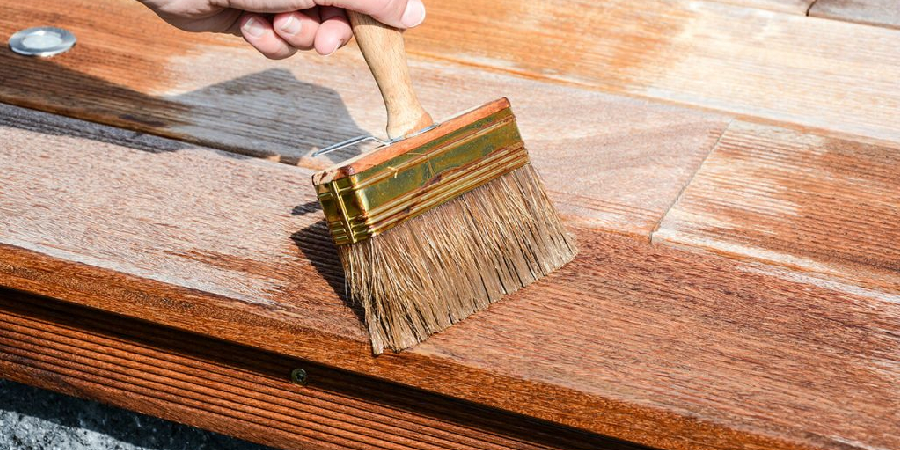
Step 5: Sand and Finish
- Sand surfaces with 80-grit, then 120-grit, then finish with 220-grit sandpaper.
- Wipe down with tack cloth.
- Choose a finish:
- Natural wood: clear polyurethane or Danish oil.
- Painted finish: primer + acrylic or chalk paint.
- Stained finish: apply stain, wipe excess, then seal with polyurethane.
- Natural wood: clear polyurethane or Danish oil.
Thin coats and proper drying time ensure a professional look.
Design Variations
1. Round Table
- Cut a circular tabletop from plywood or MDF.
- Keep apron lengths slightly shorter than diameter.
- Use angled corner braces or circular supports for stability.
2. Folding Table
- Attach hinges on one side of legs to allow folding.
- Great for balconies or small spaces.
- Add a simple latch to lock in place when in use.
3. Planter Table
- Add a recessed tabletop to hold a planter or small herb garden.
- Line with waterproof material and seal edges.
4. Mini Desk
- Slightly increase height to 28–30”.
- Add a narrow shelf beneath the tabletop for notebooks or laptop.
These variations are perfect for practicing woodworking skills while creating functional furniture.
Common Beginner Mistakes
| Mistake | Cause | Fix / Prevention |
|---|---|---|
| Uneven legs | Cuts not consistent | Use a stop block and measure twice |
| Wobbly frame | Aprons not square | Clamp and square corners during assembly |
| Wood splits | Screws without pilot holes | Always drill pilot holes first |
| Rough finish | Skipped sanding steps | Follow sanding progression 80→120→220 grit |
| Screws visible | No countersink | Use countersink bit or wood filler |
© woodhint.com
Small mistakes are normal — learning to correct them improves future projects.
Cost and Time Overview
| Item | Estimated Cost |
|---|---|
| Wood (Pine / Cedar) | $20–$35 |
| Screws & Glue | $5–$10 |
| Sandpaper & Finish | $10–$15 |
| Total Cost | $35–$60 |
Build Time:
- Cutting & assembly: 1.5–2 hours
- Sanding & finishing: 1–2 hours
- Drying time: 12–24 hours
© woodhint.com
You can finish your first small table in a single afternoon or weekend.
Your First Small Table
Building a small wooden table is a rewarding beginner project that combines simplicity with functionality. Once you master this compact build, you’ll gain confidence to tackle larger tables, outdoor projects, and customized furniture.
Want more table ideas and plans? Explore our full guide on Build Wooden Table: Types, Plans, and Design to learn about different table styles, step-by-step plans, and design tips for beginners and advanced woodworkers alike.