

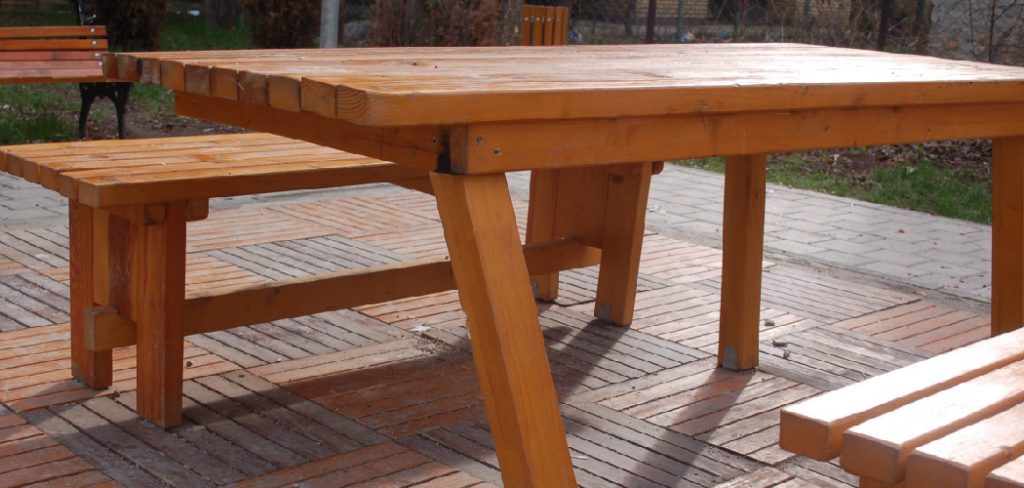
A table’s strength starts with its frame. Whether you’re making a dining table, coffee table, or desk, learning how to build a solid wooden table frame is one of the most valuable woodworking skills you can master.
This guide explains how to plan, cut, and assemble a simple rectangular table frame that’s square, sturdy, and adaptable to any tabletop design. You’ll also learn how to adjust the frame for different sizes, styles, and wood types.
What Is a Table Frame?
A table frame is the wooden structure that supports the tabletop.
It usually includes:
- Legs — provide height and stability.
- Aprons — horizontal boards that connect the legs.
- Joinery — the screws or joints that hold everything together.
This simple structure determines how strong and long-lasting your table will be. Even a beautiful tabletop won’t last without a solid frame beneath it.
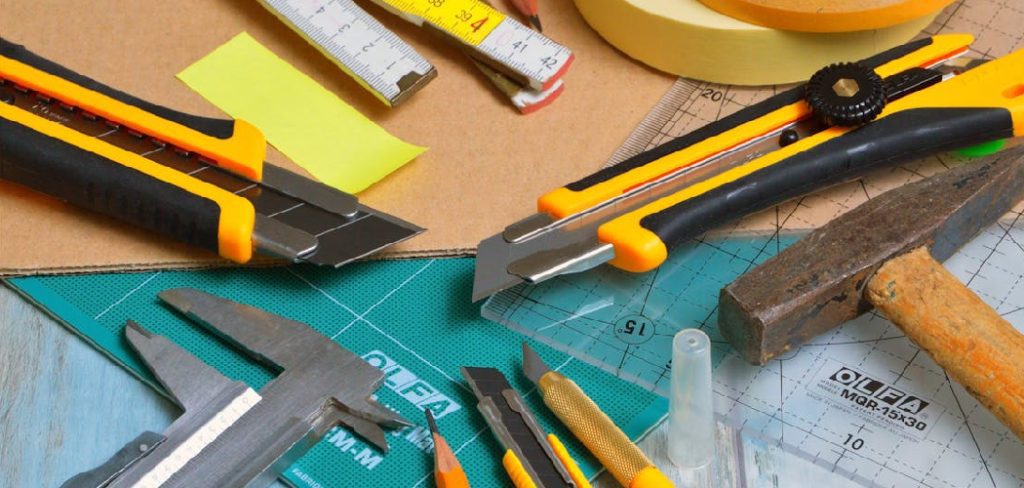
Tools and Materials
You’ll only need basic woodworking tools and materials — perfect for beginners and intermediate builders.
Materials List
| Component | Material | Dimensions | Quantity | Notes |
|---|---|---|---|---|
| Legs | 2×2 or 2×4 lumber | 28–30″ | 4 pcs | Adjust height to table type |
| Long Aprons | 1×3 or 2×3 lumber | 36–60″ | 2 pcs | Depends on table width |
| Short Aprons | 1×3 or 2×3 lumber | 20–30″ | 2 pcs | Depends on table depth |
| Screws | 1¼”–2″ | — | — | Wood screws or pocket hole screws |
| Wood Glue | Interior or exterior grade | — | — | Strengthens joints |
| Corner Braces (optional) | Metal or wood blocks | — | 4 pcs | Adds rigidity |
© woodhint.com
Click here to download this materials and cut list as a printable sheet.
Tool List
- Tape Measure
- Miter Saw or Circular Saw
- Power Drill & Bits
- Square / Angle Guide
- Clamps
- Sandpaper (120 & 220 grit)
- Wood Filler (optional)
Tip: Keep a level handy — even a slight twist can cause a table to wobble later.
Step-by-Step: How to Build a Simple Table Frame
This design follows the same principle used in dining tables, desks, and benches. You’ll create two leg assemblies and connect them with aprons.
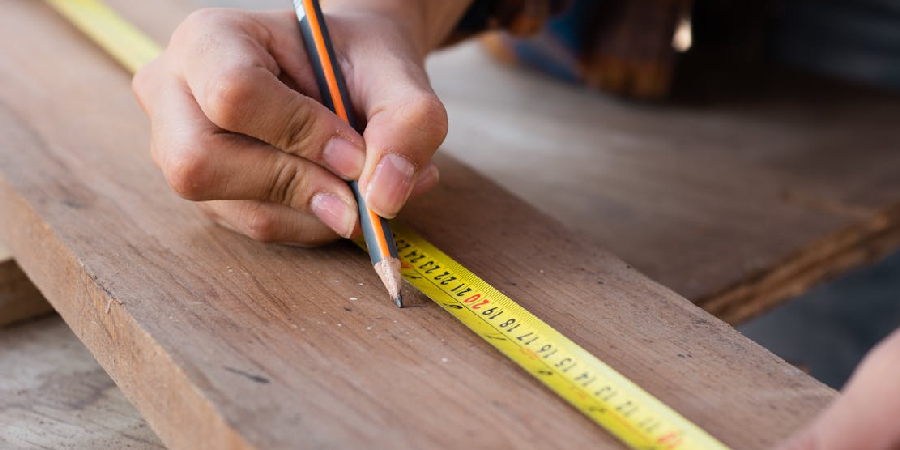
Step 1: Plan and Mark Your Cuts
Decide your table’s final size first. For a standard 4-person dining table, use:
- Height: 30″
- Width: 36″
- Length: 60″
From that, calculate the apron lengths:
- Long aprons = Table length minus 3″ (to account for legs)
- Short aprons = Table width minus 3″
Example:
60″ long table → long aprons = 57″
36″ wide table → short aprons = 33″
Mark and label each piece before cutting.
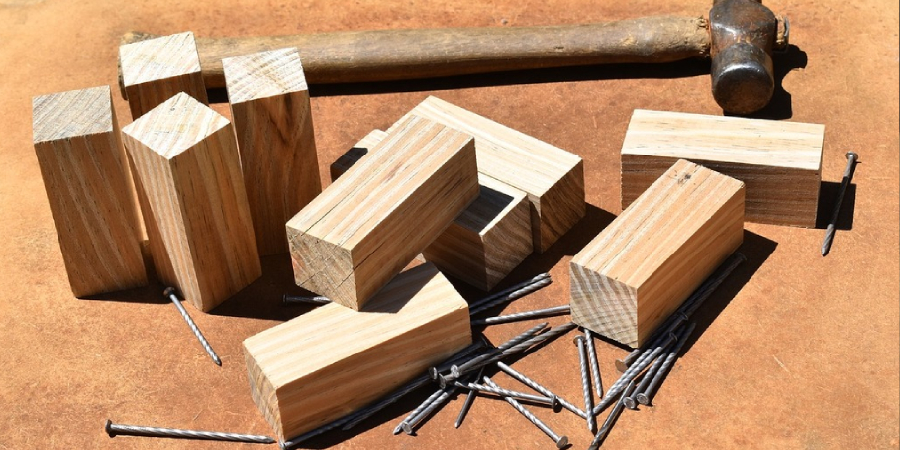
Step 2: Cut All Frame Pieces
Cut your lumber cleanly and squarely using a miter saw or circular saw.
- 4 legs @ 30”
- 2 long aprons @ 57”
- 2 short aprons @ 33”
Lightly sand each edge to remove splinters.
Pro Tip: Clamp a stop block when cutting to keep each leg identical in length — this ensures your table won’t rock.
Step 3: Drill Joinery Holes
You can attach the aprons to the legs in several ways:
| Joinery Method | Difficulty | Appearance | Strength |
|---|---|---|---|
| Pocket Holes (Kreg Jig) | Easy | Hidden | Strong |
| Screws + Glue | Very Easy | Visible | Medium |
| Dowels | Moderate | Hidden | Strong |
| Mortise & Tenon | Advanced | Hidden | Excellent |
For beginners, pocket holes are the best balance of simplicity and strength.
Drill two angled pocket holes at each end of the apron boards (on the inside face).
Step 4: Assemble the Short Ends
Form each end frame first:
- Lay two legs on a flat surface.
- Place a short apron between them near the top (flush with the leg tops).
- Apply a thin line of glue where wood meets.
- Drive screws through pocket holes or directly through the apron into the legs.
- Check that the corner is square before tightening fully.
Repeat for the second end.
You should now have two “U” shaped end assemblies.
Step 5: Connect the Long Aprons
Stand both end frames upright.
Position them parallel to each other and attach the long aprons to complete the rectangle frame.
- Use clamps to hold everything square.
- Check diagonal measurements (they should match).
- Tighten screws slowly to avoid twisting.
When complete, the frame should stand evenly on all four legs.
Step 6: Reinforce and Level the Frame
Before adding a tabletop, reinforce your frame for long-term stability.
Optional Additions:
- Corner Braces: small metal L-brackets add stiffness.
- Cross Stretcher: a center beam adds support for long tables.
- Leveling Feet: perfect for uneven floors or outdoor setups.
Use your level and square again to ensure every corner is true.
Step 7: Sand and Prepare for Finishing
Sand all surfaces smooth using 120-grit followed by 220-grit paper.
Fill any screw holes with wood filler and sand flush once dry.
If you’ll paint or stain later, this step ensures a professional finish.
Frame Design Variations
Once you understand the core frame design, you can adjust it for different purposes:
1. Dining Table Frame
- Standard height: 30″
- Aprons: 3–4″ tall for strength
- Add center support beam for wide tops
2. Coffee Table Frame
- Height: 16–18″
- Shorter legs but same apron structure
- Works well with 2×2 lumber
3. Workbench Frame
- Use 2×4 or 4×4 lumber
- Add lower shelf or stretcher for tools
- Apply polyurethane for durability
4. Outdoor Table Frame
- Use pressure-treated or cedar lumber
- Apply exterior-grade glue and weatherproof sealant
- Add stainless steel screws to prevent rust
These variations all follow the same frame-building logic — only dimensions and finishes change.
Common Mistakes and How to Fix Them
| Problem | Cause | Solution |
|---|---|---|
| Frame isn’t square | Aprons cut unevenly | Measure diagonals; adjust clamps before tightening |
| Legs wobble | Uneven cuts or floor | Sand bottoms level or add adjustable feet |
| Screw heads visible | No countersinking | Use a countersink bit or wood filler |
| Twisted frame | Tightened screws unevenly | Clamp square before final tightening |
| Frame too light | Small lumber size | Use thicker 2×4 or add stretcher bar |
Every builder runs into these once — learning to fix them is what makes you a real woodworker.
How to Attach a Tabletop
Once your frame is complete, it’s ready for any tabletop style. Here are three easy methods:
- Direct Screws: Drill pilot holes through the apron into the tabletop (fast and simple).
- Figure-Eight Fasteners: Allow wood movement — ideal for hardwood tops.
- Corner Blocks: Screw diagonally into the top from inside corners (hidden and strong).
Always leave 1/8”–¼” space for natural wood expansion if using solid wood tops.
Optional Add-Ons
Enhance your frame with these optional upgrades:
- Decorative aprons with edge molding.
- Tapered or turned legs for visual flair.
- Lower shelf for storage.
- Painted base + stained top for a two-tone farmhouse look.
These small details turn a basic frame into a refined furniture piece.
Cost and Time Overview
| Item | Estimated Cost |
|---|---|
| Lumber | $25–$45 |
| Screws & Glue | $5–$10 |
| Braces / Extras | $5–$15 |
| Total | $40–$70 |
Build Time:
- Cutting & assembly: 2–3 hours
- Sanding & finishing: 1–2 hours
- Drying / curing time: optional, 1 day
A single afternoon is enough to complete the full frame.
Build the Foundation of Every Table
A strong table frame is the foundation of every table — whether it’s a dining table, coffee table, or desk.
Learn more about building a solid wooden table with step-by-step instructions and material lists in our full guide on Build Wooden Table: Types, Plans, and Design. This guide also covers frame variations, optional reinforcements, and tips for attaching any tabletop.