

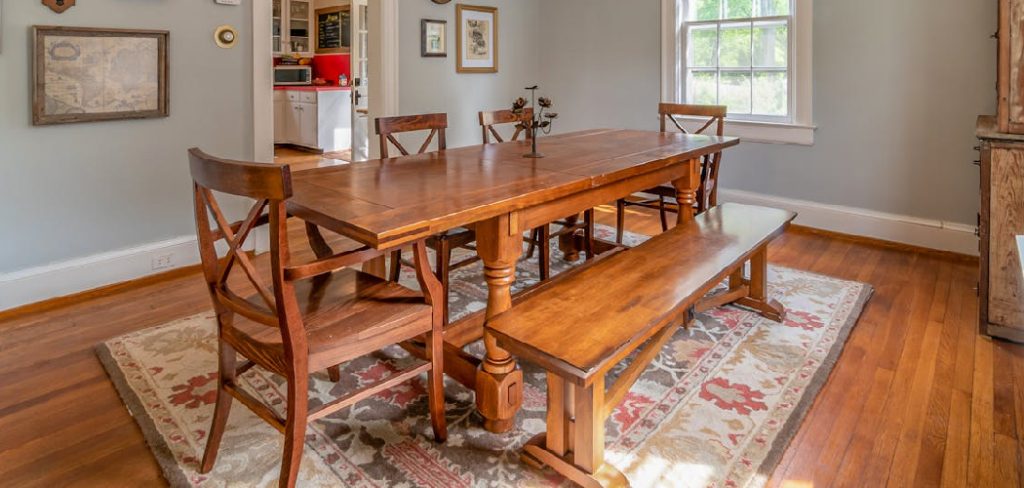
A kitchen table bench is a practical and stylish addition to any dining space. Unlike chairs, benches maximize seating, provide a communal feel, and can be customized to fit your table perfectly.
This guide walks beginners through the entire build process, from selecting materials and cutting lumber to assembling the frame, attaching the seat, finishing, and exploring optional design variations.
Why Build Your Own Kitchen Table Bench?
DIYing your bench allows you to:
- Fit the bench perfectly to your table and space.
- Choose wood type for durability, appearance, and budget.
- Learn essential woodworking skills — cutting, joining, sanding, and finishing.
- Save money compared to buying pre-made benches.
A sturdy, handcrafted bench can last decades and become a central feature in your home.
Tools and Materials You’ll Need
Materials List
| Component | Material | Dimensions | Quantity | Notes |
|---|---|---|---|---|
| Seat | Pine, Oak, or Cedar | 12–16” wide × table length | 1 | Smooth, flat board or panel |
| Legs | 2×4 Lumber | 16–18” high | 4 | Sturdy for heavy use |
| Aprons / Rails | 1×4 Lumber | Table length minus ~3” | 4 | Connects legs, supports seat |
| Screws | 2” Wood Screws | — | 16–20 | Pre-drill holes to prevent splitting |
| Wood Glue | Interior-grade | — | — | Optional for extra stability |
| Sandpaper | 80, 120, 220 grit | — | — | For smooth finishing |
| Finish | Stain, Paint, or Clear Coat | — | — | Adds protection and style |
© woodhint.com
Tip:
You can download this cut list as a printable sheet for your workshop.
Tools List
- Tape Measure & Speed Square
- Hand Saw or Circular Saw
- Power Drill & Bits
- Clamps
- Orbital Sander or Sanding Block
- Paintbrush or Cloth for Finishing
A level is useful to ensure your bench sits evenly.
Step 1: Plan and Measure Your Bench
Standard Dimensions for Comfort:
| Bench Type | Height | Depth | Length |
|---|---|---|---|
| Kitchen Bench | 17–19” high | 12–16” | Matches table length |
| Backless Bench | — | 12–16” | Fits snug under table |
| Bench with Backrest | — | 12–16” seat + 10–14” back | Ensure table clearance |
© woodhint.com
Label each piece to keep your cuts organized.
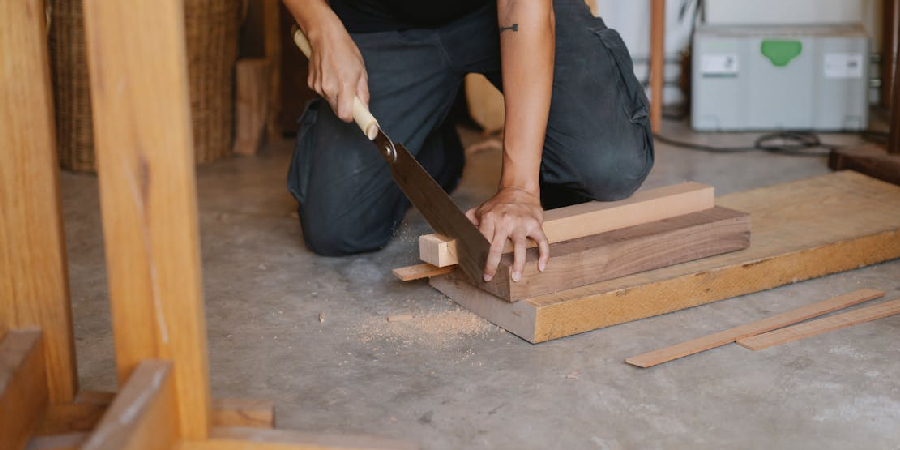
Step 2: Cut the Wood
- Cut four legs to the desired height.
- Cut four aprons (rails) to connect legs — two long, two short.
- Cut the seat to table length and width.
Pro Tip:
Use a stop block for repeated cuts to maintain consistent lengths. Lightly sand edges after cutting.
Step 3: Assemble the Frame
- Lay two legs flat with a short apron between them near the top.
- Apply wood glue (optional) at contact points.
- Drill pilot holes and drive screws.
- Repeat for the other end.
- Connect end assemblies with long aprons to form a rectangle.
- Check corners with a square — the frame should sit flat and true.
Optional Reinforcements:
- Add center support for long benches.
- Corner braces improve stability for heavy use.
Step 4: Attach the Seat
- Center the seat on the assembled frame.
- Drill pilot holes through aprons into the underside of the seat.
- Drive screws slowly to avoid splitting wood.
- Optional: allow a 1/8” gap for wood expansion.
Tip:
A slight overhang (~½”) can make the bench look polished and more comfortable.
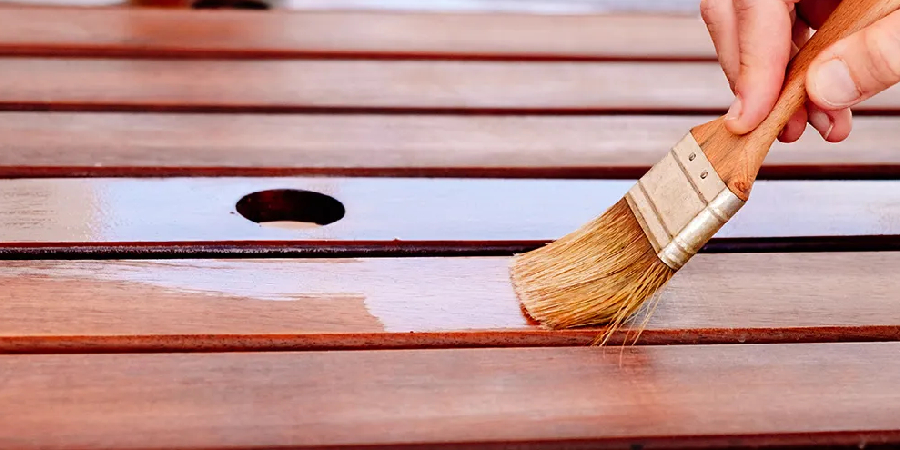
Step 5: Sanding and Finishing
Sanding
- Start with 80-grit to remove rough edges.
- Move to 120-grit and finish with 220-grit for smooth surfaces.
Finishing Options
- Clear Coat / Polyurethane: Protects wood while keeping natural color.
- Painted Finish: Primer + acrylic or chalk paint for color.
- Stained Finish: Wipe-on stain followed by a protective topcoat.
Outdoor Bench Tip:
If using outdoors, apply spar urethane or exterior-grade finish for weather resistance.
Step 6: Design Variations and Customization
1. Backless Bench
- Simple design fits under the table, perfect for compact spaces.
2. Bench with Backrest
- Adds comfort for dining areas.
- Attach a 10–14” high backrest to the seat frame.
3. Storage Bench
- Add a hinged seat with a storage compartment.
- Ideal for extra kitchen storage or living space.
4. Farmhouse or Rustic Style
- Use reclaimed wood or distress edges.
- Whitewash or stain for a rustic look.
Common Beginner Mistakes
| Mistake | Cause | Solution |
|---|---|---|
| Uneven legs | Incorrect measurements | Measure twice, cut once |
| Wobbly frame | Corners not square | Clamp and check diagonals |
| Wood splits | Screws without pilot holes | Always drill pilot holes |
| Rough finish | Skipped sanding | Sand progressively 80→220 grit |
| Weak seat | No center support | Add middle brace for long benches |
© woodhint.com
Estimated Cost and Time
| Item | Estimated Cost |
|---|---|
| Wood (Pine, Oak, or Cedar) | $30–$50 |
| Screws & Glue | $5–$10 |
| Sandpaper & Finish | $10–$20 |
| Total Cost | $45–$80 |
Build Time:
- Cutting & assembly: 2–2.5 hours
- Sanding & finishing: 1–2 hours
- Drying time: 12–24 hours
© woodhint.com
You can complete your first kitchen table bench in a weekend.
Your First Kitchen Table Bench
Building a kitchen table bench is a practical and beginner-friendly project. With simple tools, clear instructions, and accessible wood, you’ll create a sturdy, stylish bench that complements your table and dining space.
Once you master the bench, you can explore advanced table builds, outdoor benches, or specialty dining tables.
To explore more table designs, joinery methods, and woodworking plans, check out our full guide: Build Wooden Table: Types, Plans and Design.