

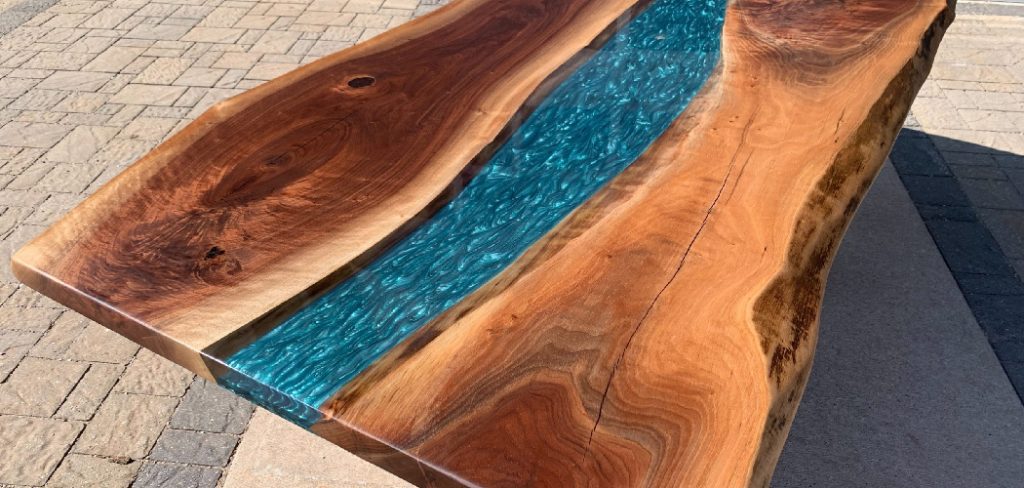
A river table combines natural wood with epoxy resin to create a stunning, one-of-a-kind centerpiece. The flowing “river” effect between two live-edge wood slabs makes each table unique.
This guide walks beginners through selecting materials, preparing wood, building the frame, pouring epoxy, sanding, finishing, and optional design variations to create a beautiful river table.
Credit: woodify.ca
Why Build a River Table?
DIYing a river table allows you to:
- Create a unique, eye-catching piece that showcases natural wood.
- Learn beginner-friendly woodworking skills like cutting, sanding, and joining wood.
- Experiment with epoxy resin safely and achieve professional-looking results.
- Customize size, wood type, and river color for your home or office.
Even beginners can produce stunning, durable results with the right guidance and patience.
Tools and Materials You’ll Need
Materials List
| Component | Material | Dimensions | Quantity | Notes |
|---|---|---|---|---|
| Wood Slabs | Live edge or natural slab | 1–2” thick | 2 | Flattened and sanded for resin pour |
| Epoxy Resin | Clear or colored | — | 2–4 gallons | Use UV-resistant resin for longevity |
| Table Frame | Pine, Oak, or 2×4 Lumber | — | Legs + Aprons | Supports epoxy table top |
| Screws | 2–3” wood screws | — | 16–20 | Pre-drill to prevent splitting |
| Sandpaper | 80, 120, 180, 220, 400 grit | — | — | For wood and epoxy sanding |
| Finish | Polyurethane or Oil | — | — | Protects both wood and epoxy |
| Painter’s Tape | — | — | — | For mold sealing |
© woodhint.com
Tip:
You can download this cut list as a printable sheet for your workshop.
Tools List
- Tape Measure & Speed Square
- Circular Saw or Jigsaw
- Power Drill & Bits
- Clamps
- Orbital Sander or Sanding Block
- Mixing Buckets and Stir Sticks for Resin
- Heat Gun or Torch (to remove bubbles from epoxy)
- Paintbrush or Cloth for Wood Finishing
Always wear gloves, a respirator, and eye protection when handling epoxy.
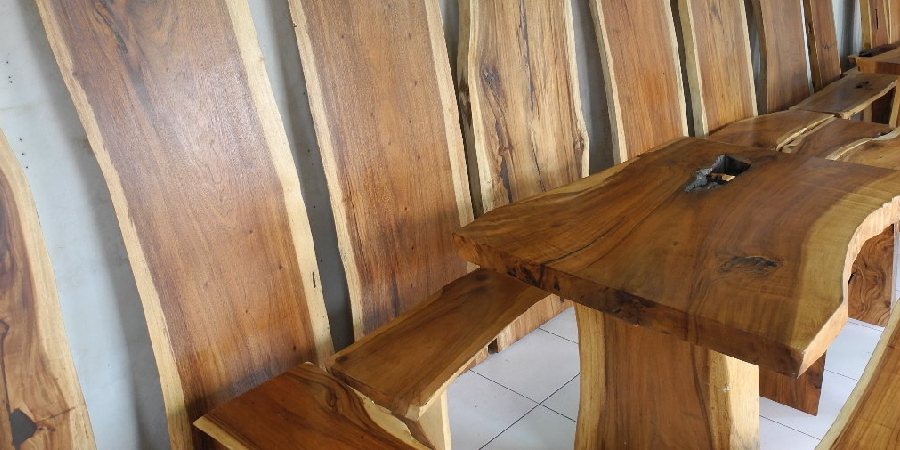
Step 1: Choose and Prepare Your Wood Slabs
- Select live-edge slabs with natural character and minimal defects.
- Flatten slabs using a planer or hand plane.
- Sand the surface smooth with 80–120 grit.
- Seal cracks and gaps along the river edges using painter’s tape or masking tape to form a mold.
Pro Tip:
Epoxy will flow into every crack. Seal unwanted holes first to avoid leaks.
Step 2: Build the Table Frame
- Cut legs and aprons to match desired table dimensions.
- Assemble legs and aprons into a sturdy rectangle.
- Ensure corners are square and frame is level.
- Optional: add cross braces for extra stability.
Step 3: Create the River Mold
- Place slabs on the table frame or a flat surface.
- Use painter’s tape, silicone, or melamine board along edges to create a mold.
- Double-check that edges are sealed tightly to prevent resin leaks.
- Ensure the river channel is consistent in width and depth.
Tip:
Use clamps or weights to keep slabs flat during resin pour.
Step 4: Mix and Pour Epoxy Resin
- Mix epoxy according to manufacturer instructions — typically 1:1 ratio.
- Add color pigments if desired.
- Pour slowly into the river channel, filling all gaps.
- Use a heat gun or torch to remove bubbles on the surface.
- Allow resin to cure fully — usually 24–48 hours depending on depth and temperature.
Safety First:
Always work in a ventilated area with gloves, respirator, and eye protection.
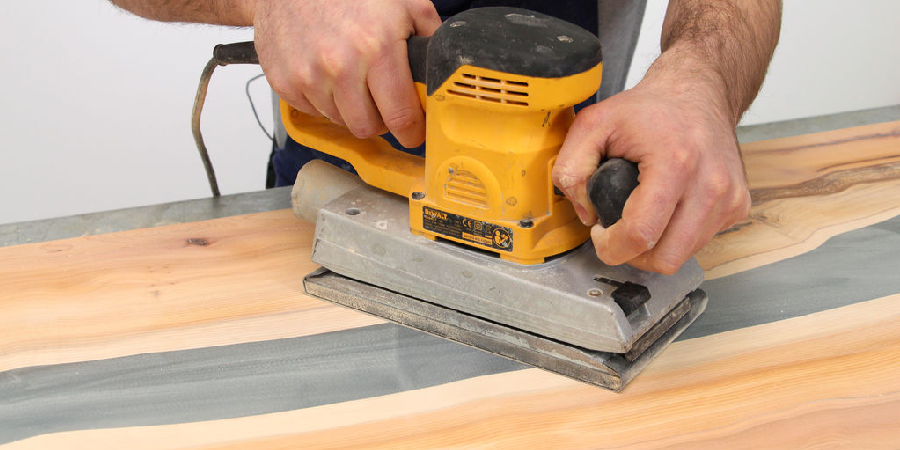
Step 5: Sanding and Finishing the Table
- Start with 80-grit sandpaper for rough sanding.
- Progress through 120, 180, and 220-grit for smooth surfaces.
- Wet sand epoxy using 400-grit for a polished, glass-like finish.
- Apply polyurethane, oil, or epoxy-safe finish to protect wood and resin.
Tip:
Remove dust between coats for a professional look.
Credit: epoxycountertopdiy.com
Design Variations and Customizations
1. Colored Epoxy River
- Add pigments or glow powder to customize river color.
2. Embedded Objects
- Small stones, shells, or metallic flakes can be embedded in epoxy for unique effects.
3. Live Edge vs. Sanded Edge
- Keep natural live edges for rustic charm or sand edges for a cleaner look.
Common Beginner Mistakes
| Mistake | Cause | Solution |
|---|---|---|
| Bubbles in resin | Pour too fast | Pour slowly, use heat gun |
| Resin overflow | Mold not sealed | Ensure tape or silicone edges are tight |
| Uneven surface | Slabs not flattened | Plane and sand wood properly |
| Scratches in resin | Skipped sanding | Progress through 80→400 grit |
| Weak table | Frame instability | Use sturdy wood and cross braces |
© woodhint.com
Estimated Cost and Time
| Item | Estimated Cost |
|---|---|
| Wood Slabs | $50–$150 |
| Epoxy Resin | $60–$120 |
| Screws & Glue | $10–$20 |
| Sandpaper & Finish | $10–$20 |
| Total Cost | $130–$310 |
Build Time:
- Cutting & frame assembly: 2–3 hours
- Wood prep & mold setup: 1–2 hours
- Epoxy pour & curing: 24–48 hours
- Sanding & finishing: 3–5 hours
© woodhint.com
Even beginners can complete a small river table in a weekend, with curing time included.
Your First River Table Build
A DIY river table is an impressive, beginner-friendly woodworking project. With proper planning, careful epoxy handling, and clear steps, you’ll create a stunning centerpiece that combines natural wood beauty with flowing resin art.
Once you master the river table, you can experiment with larger tabletops, custom colors, or outdoor epoxy tables.
To explore more creative table-building ideas, material options, and complete design plans, check out our Build Wooden Table: Types, Plans and Design guide — a full overview of wooden table styles, joinery methods, and project variations for every skill level.