
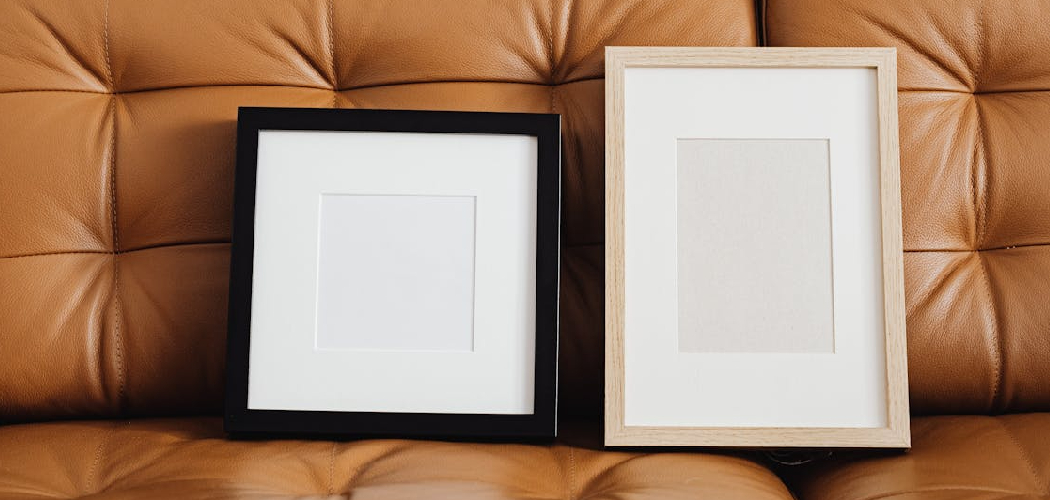
I think handmade picture frames are the best way to personalize any space. They let you put your own stamp on the artwork you display. Framing your own art, photos, or gifts gives a unique touch no store-bought frame can match.
This guide gives you the complete picture. I will walk you through the advanced techniques for a classic wooden frame and show you the fastest, easiest ways to build a frame with no power tools at all. If you’re completely new to woodworking, you can first explore our Woodworking Projects for Beginners guide to learn basic tools, joinery, and finishing techniques before starting your first frame.

Why Make Your Own Picture Frames?
Making your frame offers huge advantages over buying one. You get to choose the exact color, material, and profile to match your art and your home décor, ensuring unique aesthetics. Custom framing is expensive, but building your own frame cuts the cost dramatically, especially for odd-sized art, giving you great cost savings. Also, you get a deep sense of accomplishment every time you look at the framed piece on your wall, making it a perfect, thoughtful gift.
Planning Your DIY Picture Frame Project
A perfect frame starts with perfect planning. You must measure correctly and choose the right materials before you cut a single piece of wood.
Determining Size and Style
First, measure the width and height of your picture precisely. This measurement is the inside size of your finished frame. If you use a mat, the mat opening size must be slightly smaller than the artwork, meaning the frame itself will be larger to hold the mat.
You must also consider the Rebate/Rabbet Depth. This is the small ledge cut into the back edge of the frame that holds the glass, picture, and backing board. I recommend a rebate depth of at least 1/4 inch to hold all the layers securely.
Selecting the Right Materials
Your material choice depends on your desired style and the tools you own. Hardwoods like maple, cherry, and walnut are best for durability and strength, while softwoods such as pine or poplar are easier to work with, especially for beginners. Pre-made Molding is a great option because the decorative profile is already cut, meaning you only need to make miter cuts. For simple, no-tool options, you can use materials like thick cardboard or craft sticks.
| Material Type | Best Use Case | Key Advantage |
|---|---|---|
| Wood Options | Classic, durable frames. | Strength, natural beauty, takes finish well. |
| Pre-made Molding | Detailed, decorative frames. | Profile is already cut; only miter cuts are needed. |
| Recycled & Upcycled | Rustic, budget-friendly frames. | Zero cost, unique texture and history. |
| Cardboard/Foam | Quick, no-tool frames. | Easiest method, perfect for kids or temporary display. |
Essential Tools and Materials for DIY Picture Frames
You can build a frame with a basic toolkit or a full wood shop. Regardless of the method, always start with basic tools like a measuring tape, pencil, and safety glasses.
For high-quality wooden frames, specific tools and supplies are required:
- Cutting Tools: A Miter Saw (manual or power) is the best tool for accurate 45-degree angle cuts, which are essential for a tight corner. A simple hand saw and miter box are a good budget alternative.
- Joinery Tools: You need strong clamps, like corner clamps or band clamps, to hold the frame tightly while the wood glue dries. A brad nailer or pin nailer is perfect for quickly reinforcing those miter joints.
- Finishing Supplies: You must have wood filler for small imperfections and high-quality sandpaper, progressing from 80 to 220 grit.
Step-by-Step Guide to Making DIY Picture Frames
I offer three methods based on your skill level and tool access.
Method 1: Crafting a Classic Wooden Picture Frame
This method creates the highest quality, most durable frame and requires power tools.
- Prepare the Timber: Start with high-quality, dry wood like maple or cherry. Your finished board should be 3/4 to 1 inch thick for a sturdy frame.
- Cut the Rebate (Rabbet): Use a router with a rabbeting bit to cut the groove that holds the glass and backing along the inside edge of your stock.
- Make Accurate Miter Cuts: This is the most crucial step. Cut the ends of your four frame pieces at a precise 45-degree angle. The inside edge of the frame must match the size of your artwork exactly.
- Assemble and Clamp: Check all four pieces for a perfect 90-degree fit (a “dry fit”). Apply wood glue to the mitered edges and clamp the frame tightly. Reinforce the corners with brad nails for extra strength and immediately wipe off any excess glue.
- Finish the Frame Structure: Sand the frame, starting with a coarse grit and finishing with 220 grit for a smooth surface. You can choose to stain the wood, paint it for a custom color, or apply a clear coat lacquer for a durable finish.
Beginner Tip: Gaps in Mitered Corners are the most common problem. They are caused by inaccurate 45-degree cuts or poor clamping. You can repair small gaps by mixing fine sawdust with wood glue and packing the blend into the space.
Method 2: Making Picture Frames from Molding
This is an easier woodworking option. You simply select pre-profiled molding that already has the decorative edge and rebate you want. Carefully measure your artwork and cut your four pieces with a precise 45-degree miter cut. Then, apply glue and use a brad nailer and clamps to secure the corners. Finishing involves filling any nail holes before sanding and painting or staining the piece.
Method 3: Simple & No-Power-Tool Frames
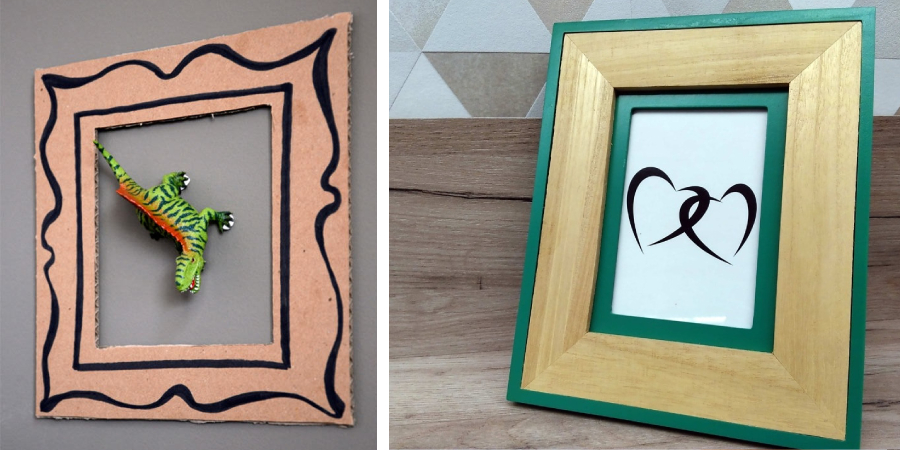
You do not need a shop to make a frame. This is the easiest way to make a picture frame. You can craft frames from thick cardboard or foam core by cutting two layers and removing the center of the top layer to create the window. You can also use craft materials like Popsicle Sticks or even Upcycled materials like denim scraps or smooth twigs, all held together with hot glue.
Inserting Your Picture, Backing, and Mounting the Frame
The final assembly secures your artwork.
You must cut your Plexiglass, glass, or MDF backing board to the exact size of the frame’s back opening. Place the pieces into the rebate in this order: Frame, Glass/Plexiglass, Mat (Optional), Picture, Backing Board. Then, use Flexible Tabs or Frame Points around the edge to hold the entire stack firmly in place. Finally, secure the hanging hardware. Use a Sawtooth Hanger centered on the top rail for light frames, or use D-Rings and Picture Wire for heavier pieces.
Troubleshooting Common Issues & FAQs
Troubleshooting Common Mistakes
You must use only high-quality, dry lumber to prevent warped wood. Do not store frames near heat or high moisture. If wood splits during assembly, it is often because the brad nails were driven too close to the end grain; use a smaller pin nailer next time.
People Also Ask
- Is it cheaper to make your own picture frame? Yes, it is always cheaper than professional custom framing, often saving 50–80% on large or non-standard sizes.
- Can you make a picture frame without power tools? Yes, absolutely! You can use a hand saw and miter box for wood or simply use cardboard, foam core, or craft sticks.
- What materials do I need to make a DIY picture frame? You need wood or molding, wood glue, clamps, a way to cut 45-degree angles, a backing board (MDF or foam core), and hanging hardware.
Conclusion
The power to create beautiful, custom décor for your home is in your hands. Making your own picture frames is a satisfying, creative process that adds unique character to every room.
I hope this guide inspires you to start your own creative project. Happy building!