

I love a clean look, and nothing beats the minimalist style of a small floating shelf. These shelves appear to float on the wall, giving your room a modern, uncluttered feel. Best of all, you do not need expensive hardware. I will show you a unique, bracket-free DIY method using simple dowels that lets you build strong, beautiful shelves for well under $10 each.
This guide provides the complete plan, from choosing your materials to mounting the finished shelf securely.
The Appeal of Small Floating Shelves: Space-Saving & Stylish Storage Solutions
Small floating shelves are an ideal choice for many reasons. They offer clean lines and a minimalist design that avoids the clutter of visible supports. From a practical side, they are perfect for maximizing vertical space and decluttering small areas like entryways, bathrooms, or kitchens. They are incredibly versatile in any room where you need just a small spot for storage or display.
DIY Small Floating Shelves: Is it Cheaper and Easier Than Buying?
Making your own shelves is a great project for saving money and getting exactly what you want.
Are DIY Shelves Cheaper Than Buying?
Yes, they are much cheaper. If you buy a common eight-foot piece of lumber, you can easily create three or four small shelves. The entire material cost, including the lumber, dowels, and finish, often comes in around $10 per shelf, which is a fraction of the cost of buying a pre-made floating shelf. You also get the added value of complete customization and the satisfaction of building something yourself.
Weight Capacity Considerations
The strength of your shelf depends more on how you mount it than on the wood you choose. Mounting into wall studs gives you maximum stability and load capacity. This DIY method, when anchored correctly into studs, can handle a substantial load, often estimated at 50 to 60 pounds for a small shelf.
DIY Small Floating Shelves: A Step-by-Step Guide for Bracketless Design
This guide focuses on creating strong, seamless shelves using common dimensional lumber and dowels.
Materials and Tools You Need
The core of this project uses simple, affordable wood. I recommend buying a piece of Southern Yellow Pine lumber and a 1/2-inch oak dowel rod. You will also need wood screws for security and a finish like Minwax Gel Stain and Spray-on Polyurethane.
| Item | Material / Component | Approx. Cost & Purpose |
|---|---|---|
| Shelf Body | Southern Yellow Pine (8×1.5×96 in.) | Budget-friendly wood for the main shelf. |
| Hidden Support | 1/2 inch Oak Dowel Rods | Used for the internal bracket-free cleat support. |
| Security | Wood Screws & Wood Glue | Locks the shelf box together and secures the cleat to the wall. |
| Finish | Gel Stain and Polyurethane | Provides color, protection, and a durable seal. |
| Essential Tools | Saw (Table/Circular), Drill, Sander | Basic power tools required for cutting and shaping. |
Step-by-Step Construction: Building Your Shelf Core
- Prepare the Lumber: Cut your main lumber board into the desired shelf lengths. A standard small shelf might be 12 to 24 inches long. Mark precise locations for your dowel holes down the center of the lumber.
- Drill the Dowel Holes: Using a 1/2-inch drill bit, drill holes into the wood at the marked locations. It is essential to keep a consistent depth and use a piece of depth tape or a stop on your drill bit.
- Rip the Lumber: This is the clever step. Use a circular or table saw to rip the lumber directly along the drilled holes, splitting the shelf into two or three long pieces. The two outer pieces form the shell of your shelf, and the center piece, with the dowel holes, becomes your hidden mounting cleat.
- Prepare and Insert the Dowels: Cut your 1/2-inch oak dowel rod into small pieces, about 4 inches long. Sand one portion of each dowel lightly so it fits snugly into the drilled holes. Hammer the dowels through the holes in the mounting cleat and back into the corresponding holes on the shelf shell pieces.
- Assemble the Shelf Core: Lock the shelf components together using wood glue and a security screw driven through the center dowel and into the cleat. This completes the shelf box, leaving the back of the center piece ready to mount on the wall.
- Add the Finish: Apply Pre-Stain Wood Conditioner to the pine to ensure the stain absorbs evenly. Once dry, apply one coat of Gel Stain for color and finish with two coats of Spray-on Polyurethane for durability and shine.
How to Hang a Small Floating Shelf Securely
The key to a strong floating shelf is finding the right mounting point.
Finding the Right Mounting Point
Always use a stud finder to locate wall studs first. Attaching your cleat (the hidden center piece with the dowel holes) directly to the studs provides the strongest possible hold. If you cannot hit a stud, you must use heavy-duty toggle or snap-style drywall anchors rated for the expected load.
Mounting Instructions
- Mark and Level: Hold the cleat on the wall and use a level to mark the pilot hole locations.
- Attach the Cleat: Drill pilot holes through the cleat and into the wall stud or anchor locations. Secure the cleat to the wall using long wood screws. This is your hidden support.
- Slide the Shelf: Now, simply slide the finished shelf box onto the secured dowels protruding from the cleat. The snug fit of the dowels into the box ensures a tight, bracket-free installation.
Creative Ideas for Styling Small Floating Shelves
These shelves are perfect for display in almost any room.
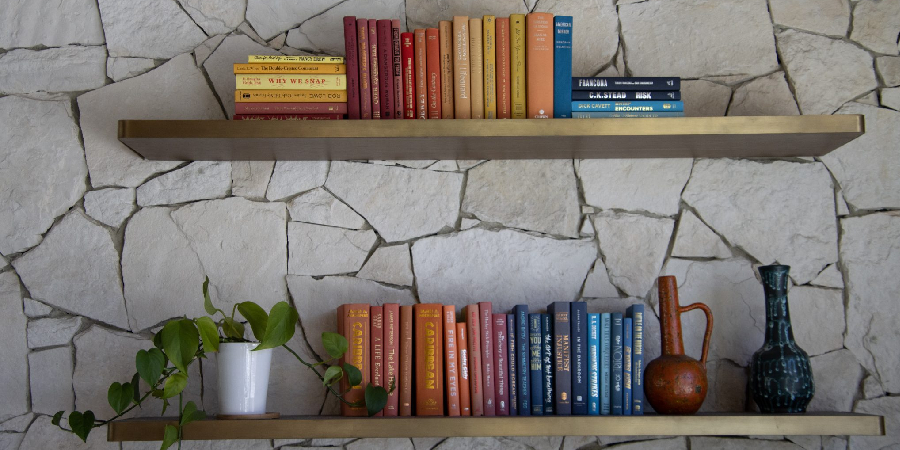
- Kitchen & Dining Areas: Use them for displaying spices, small cookbooks, or to create a simple coffee station.
- Bathrooms & Laundries: They are perfect for organizing toiletries, displaying essential oils, or holding small stacks of rolled towels.
- Bedrooms & Nurseries: Use a small shelf as a bedside table alternative or for displaying small books, keepsakes, and toys.
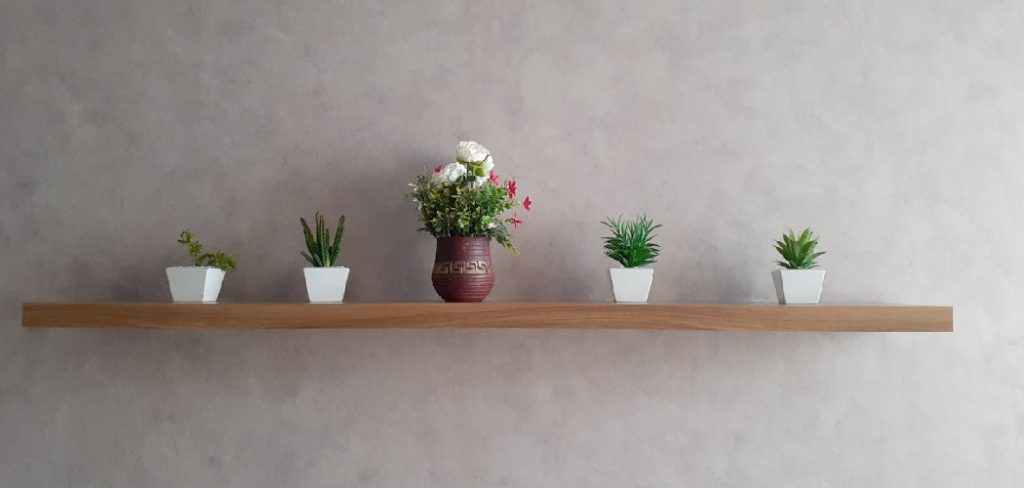
- Living Rooms & Entryways: Show off framed photos, small potted plants, or use them as a simple catch-all for keys and mail.
Elevate Your Space
Building your own small floating shelves using the dowel rod method gives you beautiful, high-quality, bracket-free décor for minimal cost. It is a satisfying project that instantly adds clean style to any room.
Once you’ve completed your first shelf, check out more easy weekend builds in our Woodworking Projects for Beginners guide — including cutting boards, picture frames, and planter boxes to build your confidence and expand your skills.