

Woodworking tables are one of the most rewarding DIY projects. Whether you’re a beginner making your first side table or an advanced woodworker crafting a reclaimed wood dining table or epoxy river table, understanding the basics of table building is crucial.
This guide is your central hub: step-by-step instructions, materials, tools, and techniques, plus links to detailed guides for every type of table.
Why Building Your Own Wooden Table Matters
Making a table yourself allows you to:
- Customize size and style to fit your space.
- Choose wood type for durability, appearance, and budget.
- Learn essential woodworking skills — measuring, cutting, joining, sanding, finishing.
- Save money while creating a functional and stylish piece.
From a simple beginner table to a complex epoxy coffee table, every project starts with the same principles.
Types of Tables You Can Build
| Table Type | Skill Level | Interlink / Post Reference |
|---|---|---|
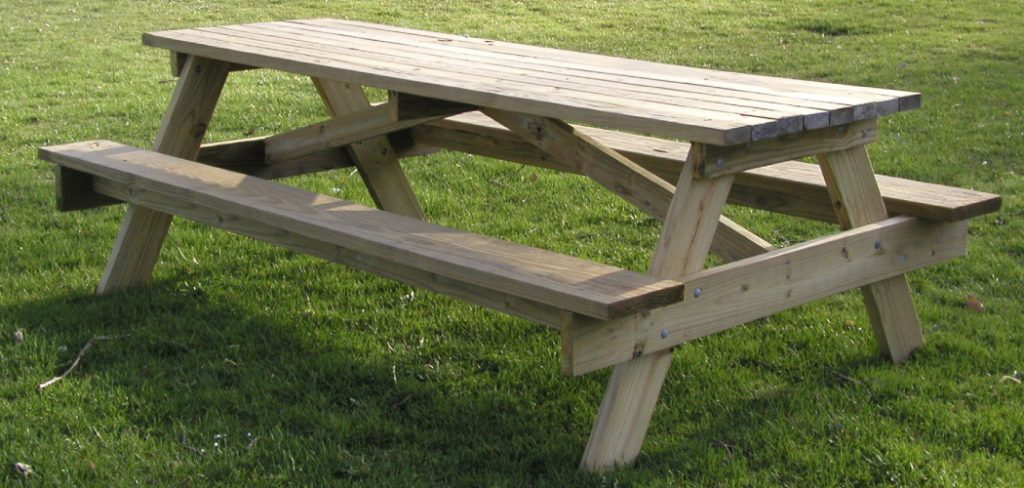
| Outdoor Wooden Table | Beginner to Intermediate | How to Build a Wooden Table for Outside |
| Dining Table | Intermediate | How to Build a Wooden Dining Table |
| Small Table / Side Table | Beginner | DIY Table for Beginners / How to Build a Small Table out of Wood |
| Simple Table Frame | Beginner | How to Build a Simple Table Frame |
| Coffee Table | Beginner to Intermediate | DIY Coffee Table for Beginners |
| Kitchen Table Bench | Intermediate | How to Build a Kitchen Table Bench |
| Folding Table | Beginner | How to Make a Wooden Folding Table |
| Small Outdoor Table | Beginner | How to Build a Small Outdoor Table out of Wood |
| River Table | Advanced | DIY River Table for Beginners |
| Reclaimed Wood Dining Table | Advanced | How to Build a Reclaimed Wood Dining Table |
© woodhint.com
Step 1: Planning Your Table Project
Determine Purpose and Size
- Coffee or Side Table: 16–22” high, compact footprint.
- Dining Table: 28–30” high, seating for 4–8.
- Outdoor Table: Consider weather exposure and material durability.
- Specialty Table: Epoxy, river, or reclaimed wood designs require advanced planning.
Check Space and Layout
Measure the area where your table will go. Ensure there’s room to move and chairs to slide if it’s a dining table.
Step 2: Choose Your Materials
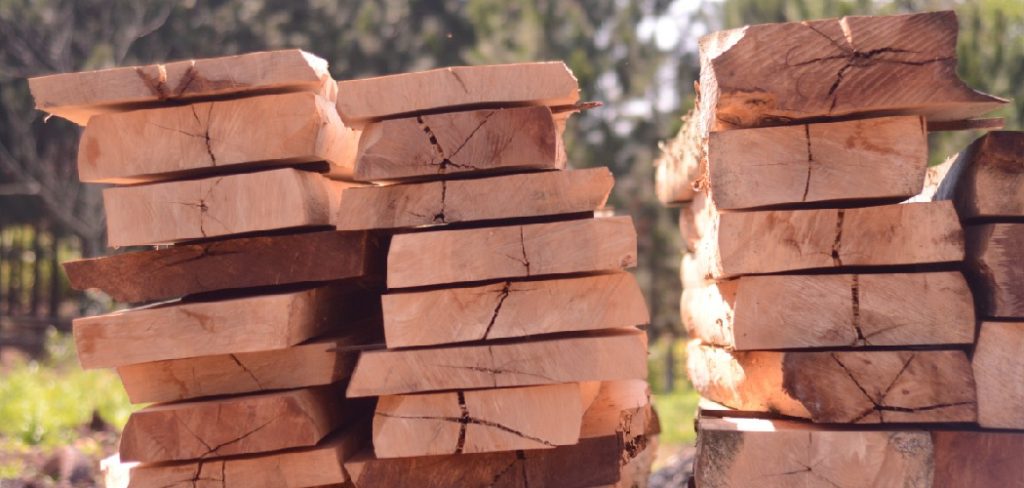
Wood Types
- Softwoods (Pine, Cedar, Spruce): Beginner-friendly, easy to cut, budget-friendly.
- Hardwoods (Oak, Maple, Walnut): Strong, durable, professional finish.
- Reclaimed Wood: Rustic, eco-friendly, unique grain patterns.
- Plywood / MDF: Lightweight and affordable for small or indoor tables.
Specialty Materials
- Epoxy Resin: For river or custom inlay tables.
- Outdoor Treatments: Pressure-treated lumber or sealed cedar for outdoor durability.
Tip: Check related posts for specific material recommendations:
- Outdoor tables: How to Build a Wooden Table for Outside
- Reclaimed wood dining: How to Build a Reclaimed Wood Dining Table
- Epoxy and river tables: DIY River Table for Beginners
Step 3: Tools You’ll Need
Basic Tools (Beginner Projects)
- Tape measure, speed square, saw, drill, clamps, sandpaper.
Intermediate Tools
- Pocket hole jig, router, orbital sander, miter saw.
Advanced Tools
- Epoxy tools (mixing kits, spreaders, heat gun), jointer, planer.
Your choice of tools depends on the table type and complexity.
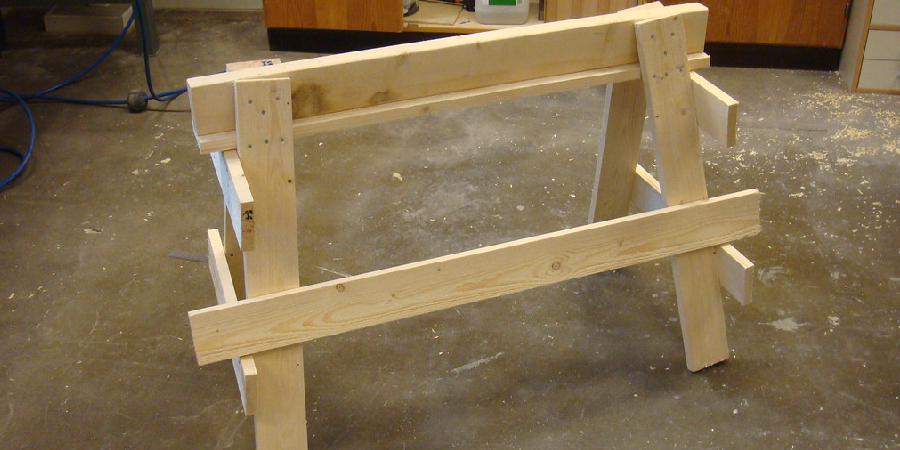
Step 4: Table Frame Construction
The frame is the backbone of every table. A solid frame ensures stability and durability.
Beginner-Friendly Frame
- Use 2×2 or 2×4 legs.
- Connect with 1×3 aprons using screws and wood glue.
- Square corners and optional corner braces.
Reference: How to Build a Simple Table Frame
Small Table Frames
- Compact versions for side tables or coffee tables.
- Follow similar frame principles but adjust dimensions.
References: DIY Table for Beginners, How to Build a Small Table out of Wood
Advanced Frame Concepts
- Reinforced frames for dining tables and epoxy river tables.
- Center stretcher bars for extra strength.
- Specialized joinery for aesthetic or structural reasons.
Step 5: Attaching the Tabletop
- Direct Screws: Simple and strong, ideal for beginners.
- Fasteners / Figure-Eight Clips: Allow wood movement in hardwood or epoxy tops.
- Glue + Braces: Extra stability for heavy or reclaimed wood tops.
Tips for specific table types:
- Small and beginner tables: DIY Table for Beginners
- Coffee tables: DIY Coffee Table for Beginners
- Kitchen benches: How to Build a Kitchen Table Bench
- Folding tables: How to Make a Wooden Folding Table
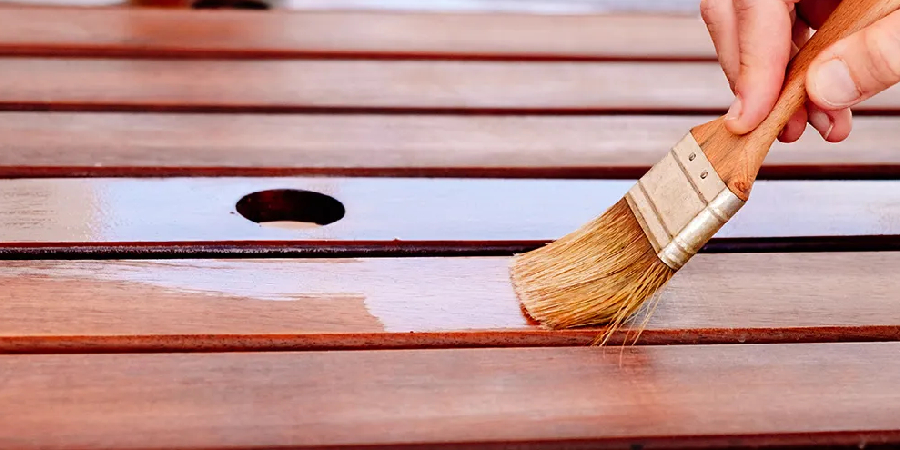
Step 6: Sanding, Finishing, and Weatherproofing
Sanding
- Progress from 80 → 120 → 220 grit for smooth surfaces.
- Remove saw marks and sharp edges.
Finishing Options
- Clear coat / polyurethane: Protects and highlights wood grain.
- Paint / Chalk paint: Adds color and style.
- Stains: Enhance natural beauty of hardwoods.
- Weatherproofing: Outdoor tables require sealants, spar urethane, or exterior paints.
Reference: How to Build a Wooden Table for Outside
Step 7: Design Variations
Beginner-Friendly Small Tables
- Side tables, coffee tables, small outdoor tables.
Dining and Kitchen Tables
- Traditional, farmhouse, reclaimed wood dining tables.
Specialty Tables
- Epoxy river tables, custom designs, folding tables, benches.
Step 8: Common Mistakes and Tips
| Mistake | Cause | Solution |
|---|---|---|
| Uneven legs | Incorrect measurements | Measure twice, cut once |
| Wobbly table | Frame not square | Clamp, square, and check diagonals |
| Splitting wood | Screws without pilot holes | Always pre-drill |
| Rough finish | Skipped sanding | Sand progressively 80→220 grit |
| Wood movement | No allowance for expansion | Leave gaps, use figure-eight clips |
© woodhint.com
Step 9: Maintenance and Longevity
- Dust and clean regularly.
- Reapply protective finishes as needed.
- Outdoor tables: consider covers or moving indoors during harsh weather.
Reference: How to Build a Small Outdoor Table out of Wood
Start Your Table-Building Journey
Building a wooden table can be simple or advanced, depending on your goals. This guide gives you the framework to choose your project, understand materials, construct frames, attach tops, finish surfaces, and explore design variations.
Use this pillar post to navigate our detailed guides:
- How to Build a Wooden Table for Outside
- How to Build a Wooden Dining Table
- DIY Table for Beginners
- How to Build a Simple Table Frame
- How to Build a Small Table out of Wood
- DIY Coffee Table for Beginners
- How to Build a Kitchen Table Bench
- How to Make a Wooden Folding Table
- How to Build a Small Outdoor Table out of Wood
- DIY River Table for Beginners
- How to Build a Reclaimed Wood Dining Table
Every woodworking table project begins here. Start building today and explore the variety of tables you can create with your own hands.