

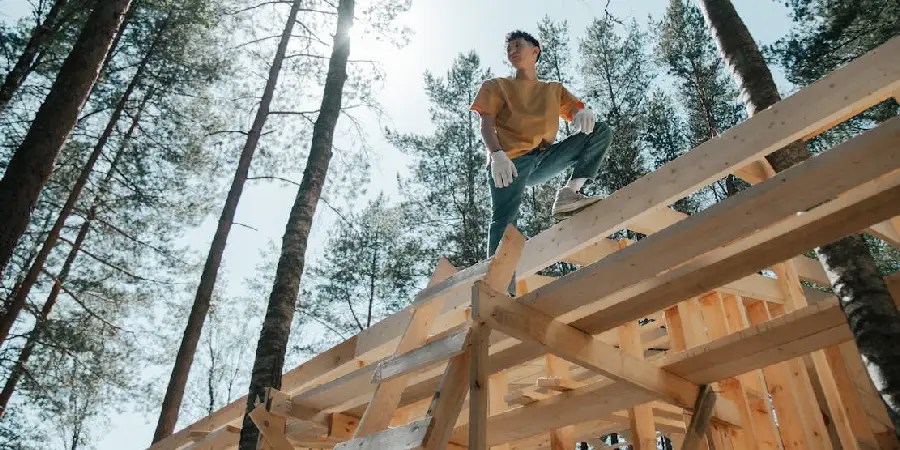
It is easy to get started in woodworking. You might think it is just about cutting wood and putting it together. I have made my share of wobbly chairs and leaning shelves. I learned that making something look good is not the whole story. I want to show you the science behind building projects that will last a lifetime. We can start by looking at the basic differences between structural and decorative work.
This article focuses on building strong and useful projects. But if you want to learn about all the different ways to work with wood, like boat building or carving, you can explore our full guide to Woodworking Styles and Disciplines.

Understanding Structural and Functional Woodworking
We can start by looking at the basic differences between structural and decorative work.
Defining Structural vs. Decorative Woodworking
Structural woodworking is about building things that are strong. The focus is on strength, stability, and holding a lot of weight. We pay close attention to the integrity of the joints and the science behind the materials. It is the framework that keeps a project from falling apart.
Functional woodworking is about building things that work well. This kind of work is all about a piece’s purpose and how a person will use it. We think about things like comfort, ease of use, and how long it will last.
Both of these ideas have to work together. A chair can look beautiful, but it is not a good chair if it wobbles or breaks when you sit on it. A well-made project is both strong and useful. Learning both skills helps you become a better craftsman.
The Science of Wood: Properties for Strength and Stability
Wood has a big effect on a project’s strength.
- Wood Species Selection: The wood you choose matters a lot. Hardwoods like oak and maple are very dense and durable. They are great for furniture that needs to last. Softwoods like Douglas fir are lighter but still strong. They are often used for framing and other large projects. You also have to think about the wood’s grain. The way the grain runs through a board affects its strength.
- Moisture Content and Wood Movement: All wood moves. It expands and shrinks with changes in moisture. This is why we let wood dry before we work with it. If you do not plan for this, your joints can fail later on. The best craftsmen understand wood movement and design their projects to handle it.
- Understanding Wood Stress and Load Bearing: A table leg is under different kinds of stress. It can be pushed on (compressive force) or bent (bending force). You do not have to be an engineer to understand this. You just need to know that your project must be able to handle the weight and pressure it will face.
Essential Skills and Techniques for Structural Woodworking
These skills are the building blocks of a great project.
Precision Measurement and Layout
Accuracy is the most important part of a project. When your cuts are not exact, your joints will be weak. I use tools like squares, marking gauges, and calipers to make sure my measurements are perfect. I always double-check my work before cutting.
Advanced Wood Joinery for Strength
This is the secret to building something that will last.
- Mortise and Tenon: This joint is very strong. A “tenon” is a tongue that fits into a “mortise,” which is a hole. I use this joint for table and chair legs. It stands up well to a lot of stress.
- Dovetails: A dovetail is a series of flared cuts that fit into each other. They are very strong and are used for making drawers and boxes.
- Lap Joints: This joint happens when two pieces of wood overlap and are joined. They work well for creating frames or grids.
- Bridle Joints: This joint is like an open mortise and tenon. It is often used for making strong corners in a frame.
- Box Joints (Finger Joints): These are a series of square “fingers” that fit together. They create a strong, square corner for boxes.
- Dowels and Biscuits/Dominos: These are small pieces that add strength and help line up parts. They are great for reinforcement.
- Spline Joints: A thin piece of wood is put into a groove to add strength to a joint, often in a mitered corner.
- Reinforcement Techniques: I add things like corner blocks or stretchers to make a project even stronger.
Fasteners in Structural Woodworking
Fasteners connect the wood.
- Screws and Bolts: I use wood screws for many projects. For heavy-duty connections, I use lag screws or bolts and nuts. It is always important to drill a pilot hole first.
- Adhesives: Wood glue is stronger than the wood itself. I use different types of glue for different projects. The key is to apply even pressure with clamps to make sure the glue holds the pieces tight.
Assembly and Clamping Strategies
Always do a dry fit first. I put all the pieces together without glue to make sure they fit perfectly. When you are ready for glue, plan the order of assembly. Use plenty of clamps to get a strong bond.
Designing for Functionality and Ergonomics
A well-made piece should feel good to use.
User-Centered Design Principles
I always think about the person who will use my project. A project should be comfortable and easy to use. For example, a chair should have a standard seat height. This is a basic idea of ergonomics.
Design Considerations for Specific Functions
- Storage Solutions: For shelves or cabinets, you need to think about how much weight they will hold. I always use strong joints and good hardware.
- Seating and Tables: The most important thing here is stability. I use strong joinery where the legs meet the top or seat.
- Workbenches: My workbench has to be strong and rigid. It must handle all the work I do on it.
Prototyping and Testing Functional Designs
I start a project by sketching my ideas on paper. Sometimes, I will even make a smaller model to test a design. I always test a piece for strength and usefulness before I am done.
Advanced Woodworking Techniques for Complex Structures
There are a few ways to add style and strength to a piece.
- Bending Wood: You can use steam to bend wood into a curve. This is great for a project like a rocking chair.
- Inlaying and Marquetry: This is the art of fitting different pieces of wood together to make a picture. I use it to add a special touch to a tabletop or box lid.
- Incorporating Hardware: Modern hardware, like soft-close hinges, can make a project much better to use.
- Surface Finishing: A good finish protects your work. I choose a finish that will make the piece last and stand up to daily use.
Structural and Functional Woodworking Projects
Here are a few projects to get you started.
- Beginner-Friendly Project: Robust Shelving Unit This is a great first project. You will focus on building strong joints and using secure fasteners. It is a simple way to learn about strength and stability.
- Intermediate Project: Dining Table This project will teach you about designing for leg stability and making strong connections. It is a big step up from a shelf and a very useful piece to have.
- Advanced Project: A Hand-Built Chair Building a chair is a big challenge. It has complex joints and requires you to think about how the human body will interact with the piece. A well-built chair is a great mark of skill.
Tools and Equipment for Structural and Functional Woodworking
You do not need a lot of tools to get started, just the right ones.
- Essential Hand Tools: Your most important tools are chisels, planes, and saws. You will also need clamps and marking tools.
- Power Tools: A table saw is the center of my shop. A router and a drill press are also very useful.
- Specialty Tools: A mortising machine helps you make perfect mortises. A pocket hole jig is also very handy for quick, strong joints.
Safety in the Woodshop
Safety is the first thing I think about in my shop. Always wear your eye protection. Use push sticks and follow all the safety rules for your tools.
Maintenance and Longevity of Functional Woodwork
A well-made piece is meant to last a long time. You can help it last by caring for it. I recommend cleaning a piece with a soft cloth. If it gets a scratch or a dent, you can often fix it.
Troubleshooting Common Issues in Structural and Functional Projects
Things go wrong sometimes. I have had a few joints fail over the years. The best thing to do is to find the cause. You can often fix it with a bit of reinforcement or glue.
DIY vs. Hiring a Pro: The Real Cost and Time
Many people think hiring a professional is the only way to get a great result. The truth is, you can save a lot of money and time by doing it yourself. Here is a simple breakdown of the costs and effort.
| Category | DIY Woodworking Project | Hiring a Professional |
| Average Cost | $100 to $200 | $1,500 to $5,000+ |
| Time to Complete | 1-2 weekends | 3-7 days for the full project |
| Materials | Primer, paint, brushes, roller, tape | Labor, primer, paint, brushes, and supplies |
Conclusion
Woodworking is more than just a hobby or a job for me. It is a noble pursuit. It is about taking a gift from nature and making something real with it. When you build a piece that is strong and beautiful, you create something that will last for generations. The satisfaction you get from that is hard to beat.
Stay sharp and keep building.
FAQ
What is the most important tool for structural woodworking?
A good square is the most important tool. Accuracy is everything. If your measurements are not perfect, your joints will be weak.
What type of wood is best for beginners?
Pine is a great wood to start with. It is affordable and easy to work with. Once you feel comfortable, you can move on to other hardwoods.
What is the strongest wood joint?
A mortise and tenon joint is one of the strongest joints you can make. It holds up well to a lot of stress.
How long does wood glue take to dry?
Most wood glues take about 30 minutes to an hour to set. I recommend letting your project sit for a full 24 hours to reach its full strength.